In Scoil Aonghusa Junior we love all things Science!
We are very excited to be involved in the SFI (Science Foundation Ireland) Plaque of STEM Discover Primary Science and Maths Awards this year.
All classes (Junior – Second Classes) have been very busy with STEM activites throughout the year.
Candy Construction in 2nd Class
Materials: cocktail sticks, bamboo skewers, jelly beans, marshmallows.
Our Task: Explore what can be created and constructed with the above materials.
Before delving in to the jelly beans and marshmallows, we made a plan. Each child thought about what they would like to try build and how they would go about it. Some children took some crayons and pencils to help the visualise, others began drawing their ideas on to paper.
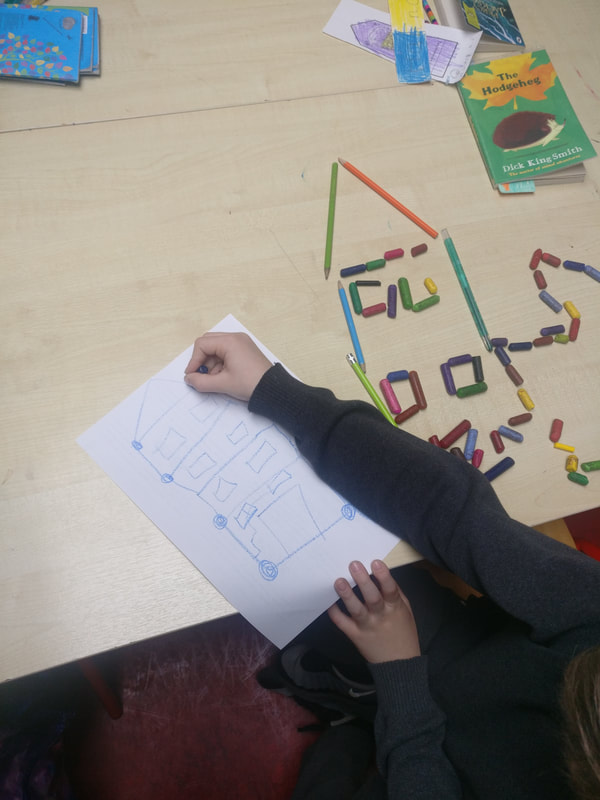
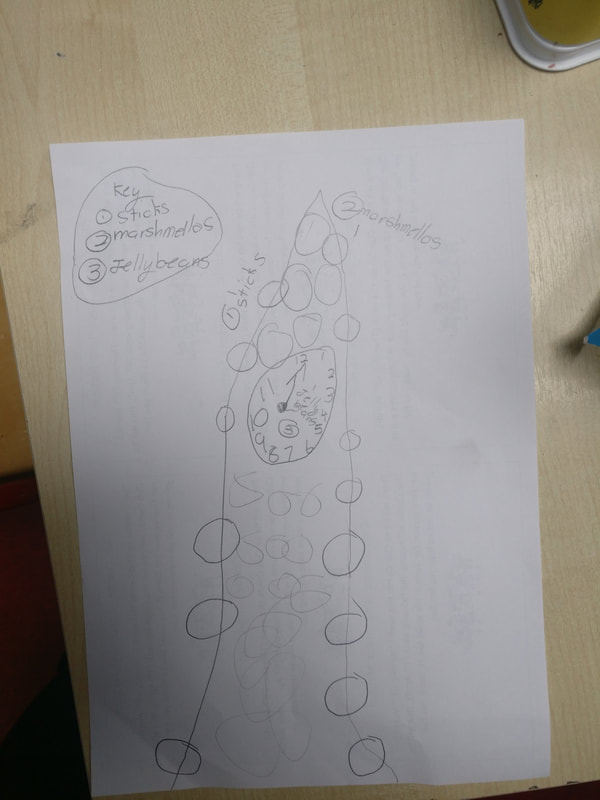

With our plans in place, the next step was to begin experimenting. We gathered our materials (and resisted the temptation to eat everything). The children tried making constructions of all different shapes and sizes.
We explored with 2D vs 3D shapes - what could we do to add extra support to the 3D shapes?
We tried making tall shapes vs short shapes.
We compared the strength of the jelly beans vs the marshmallows at holding the sticks in place and we also compared the long bamboo skewers to the short cocktail sticks, in terms of which made a more secure structure.
Our Findings:
The jelly beans were much firmer than the marshmallows and held the sticks more securely in place.
The long skewers appeared too heavy for the jelly beans or marshmallows to keep in place. We found it hard to make tall constructions with the long skewers.
We discovered 3D shapes need lots of support and a good base to keep them upright.
The children really enjoyed this challenge and did an excellent job explaining our findings and helping others on Science Day. Take a look at some of our constructions in the photos below.
Spaghetti Bridges in Second Class!
The brief we were given was to construct a free standing bridge out of spaghetti, strong enough to support a 1/2KG bag of sugar. We were only allowed to use spaghetti, elastic bands and tape. We found out that bracing strands together made them stronger. Some shapes are better at absorbing loads, we found out that triangles are particularly strong. We had great fun experimenting with the spaghetti and making our bridges. We tested the strength of our bridges by placing a 1/2 bag of sugar on them.
We learned that bridges manage two important forces: compression and tension – pushing and pulling. Too much of either and they buckle or snap.
The children did an excellent job explaining our STEM challenge on Science Day. Take a look at our photos of our challenge and of the fun we had on Science Day.
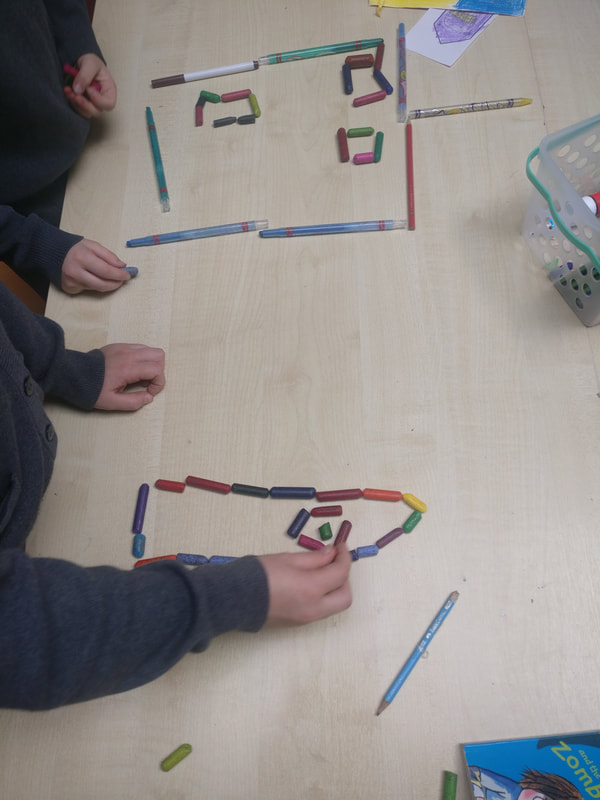
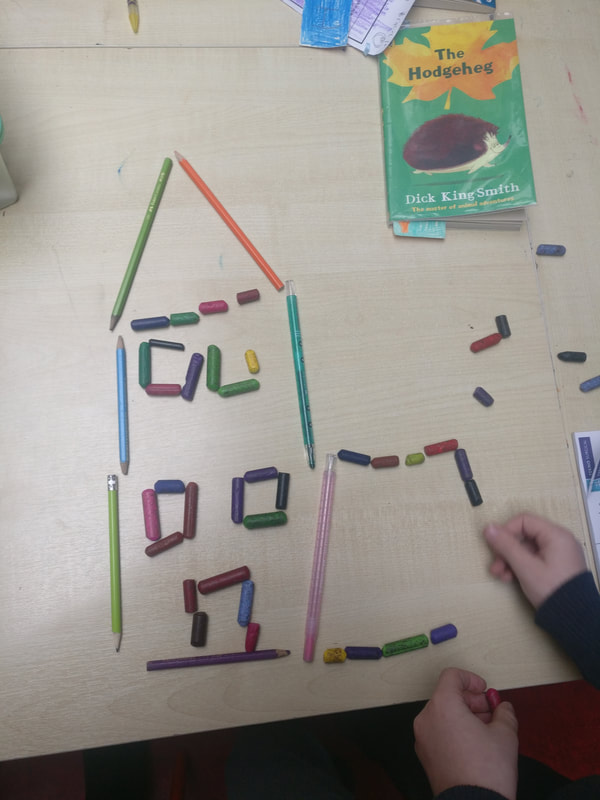
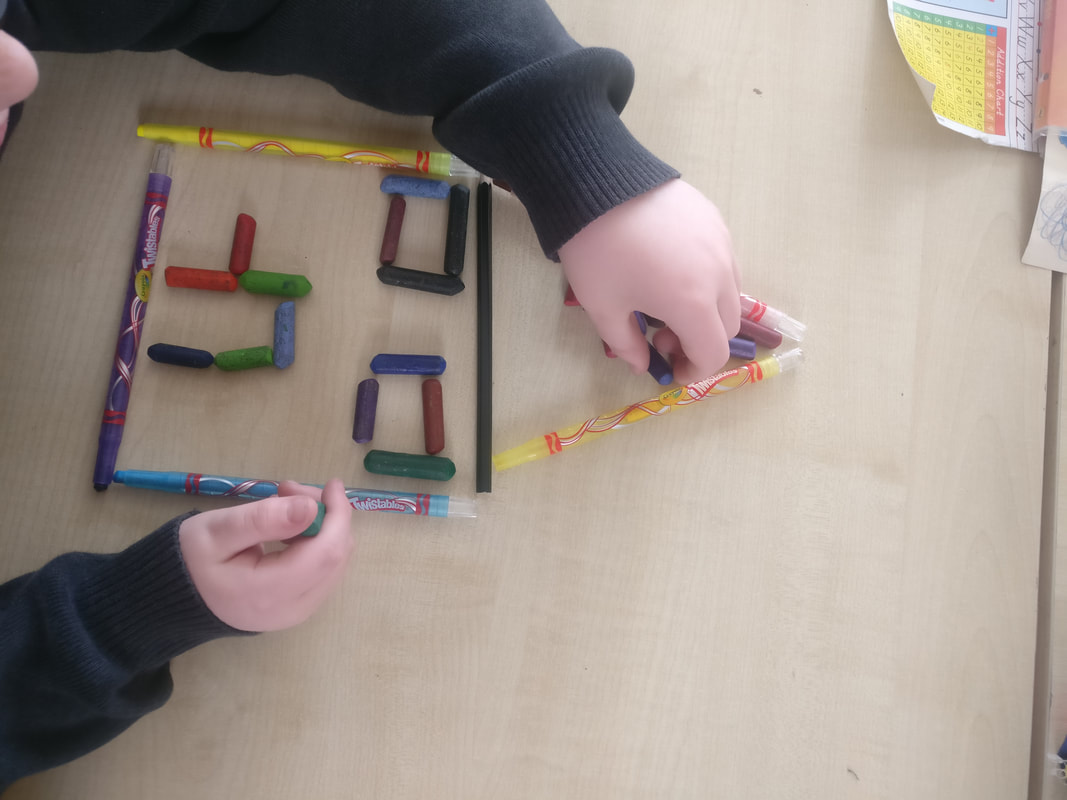
Design a bridge: second class
Materials: Paper, coins, books ( to make two banks for a river) and counting cubes.
Our Task: To explore how different materials and shapes effect the strength of a bridge.
Preparation: Prior to completing the experiment, we investigated images of many different types of bridges. We looked at the materials used to make the bridges and the different shapes used in making the bridges. We discussed what we thought each part of the bridge was there for and what work it was doing.
Examples of questions that were used to guide our discussion are outlined here:
What is a bridge? Where would you find a bridge? What makes a good bridge? Who passes a bridge on their way to/from school?
Experiment: We then began our experiment. We used our school books to make the banks of the river. We used A4 paper to make the bridge to cross from one bank to the other. Cubes/counters were used to measure the strength of the bridge. The strength of each bridge was recorded by the children using their clipboards. We really felt like engineers.
Have a look at some of the pictures of us carrying out our experiment.
Findings:
1) Adding a second A4 page increased the bridges strength
2) Using an arch beneath the bridge trebled it's strength
3) Folding the sides of the page (bridge) made it 25 times stronger than not folding the sides
4) Extra folds made the bridge even stronger
5) Changing the bridges material from paper to cardboard made the bridge even stronger and able to carry over 100 counters.
KEY FINDING: Changing a bridges shape and material used can increase its strength.
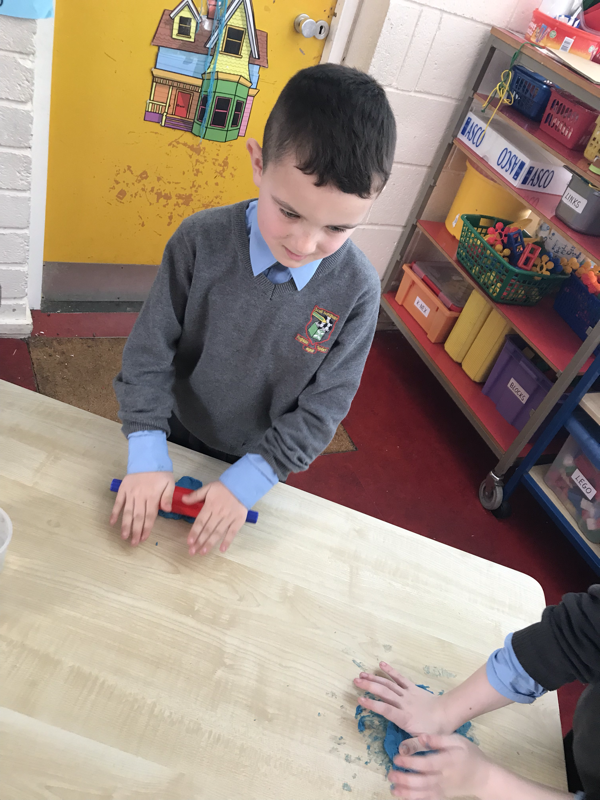
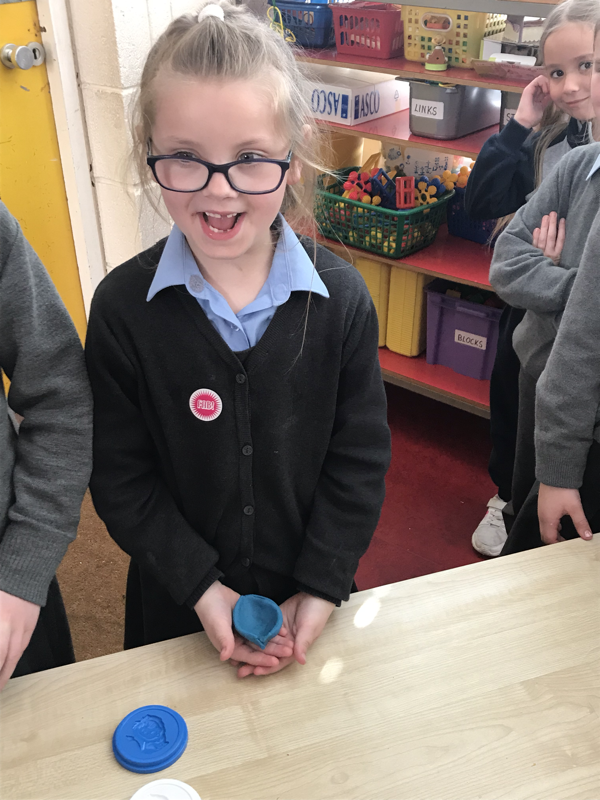
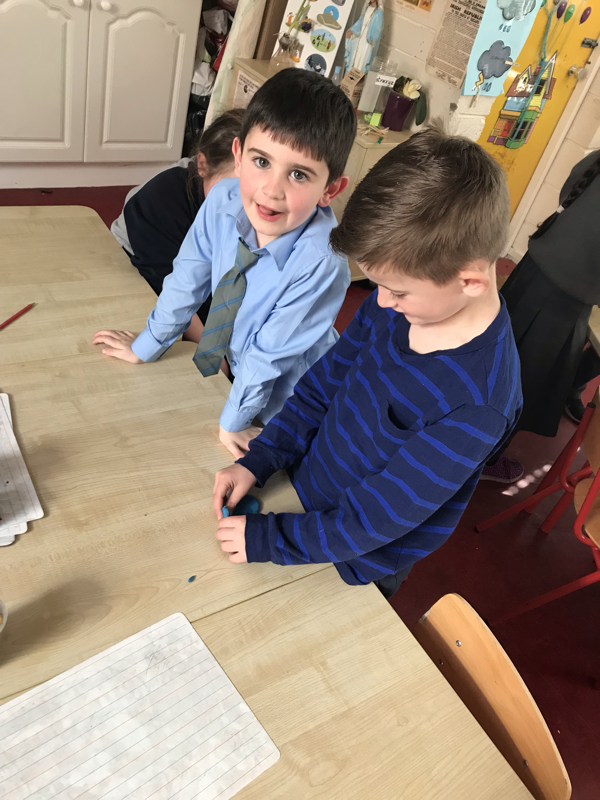
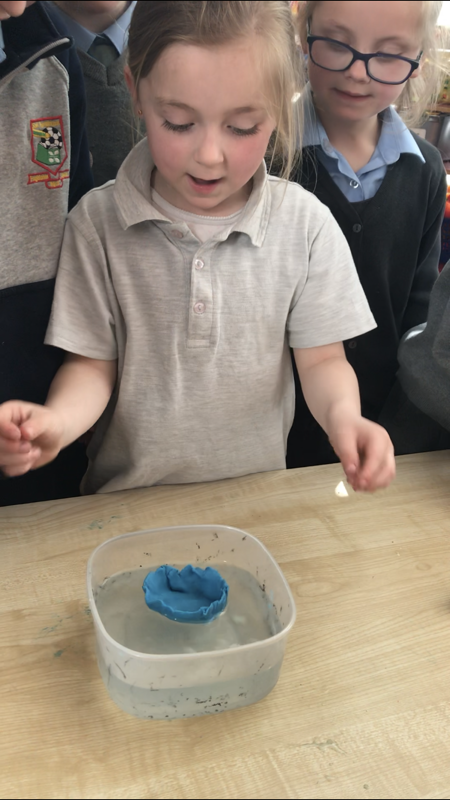
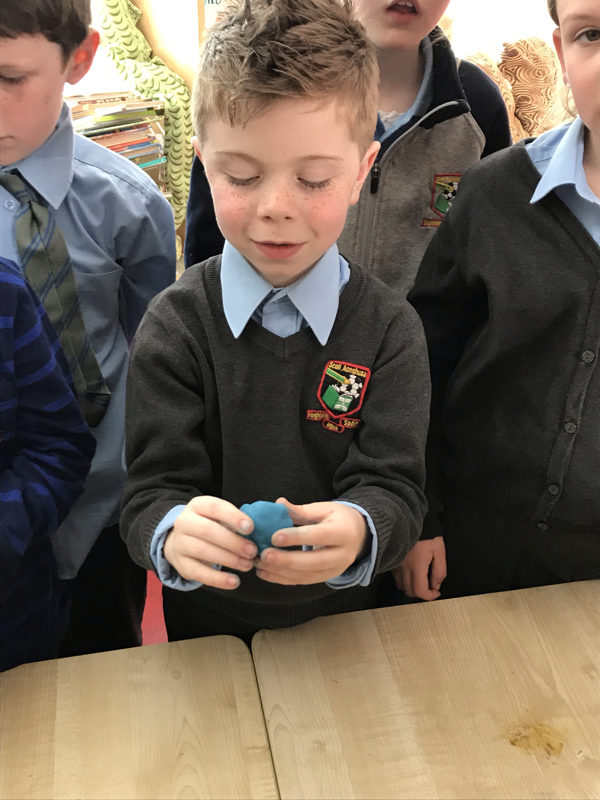
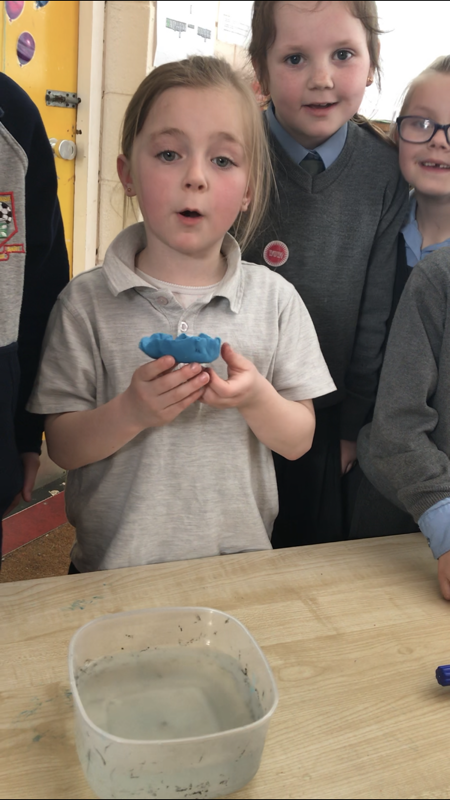
First class: ShIps ahoy! ⛵️
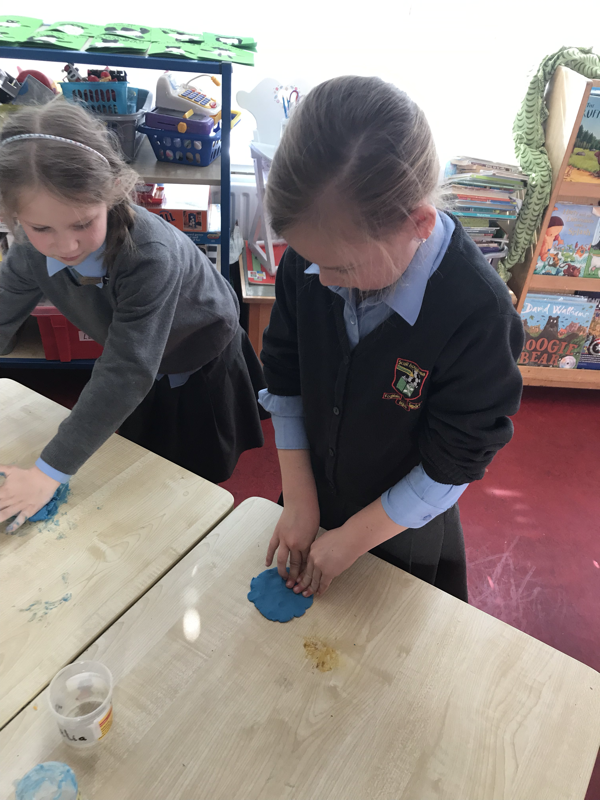
Our class were asked to design a boat made from playdough ⛵️
At first, we had a discussion about things that float and things that sink. We guessed that our ball of playdough would sink because it was heavy- we were right! The playdough sunk to the bottom of our basin ⚓️
We then decided to roll the play dough into a sausage shape. This also sunk ⚓️
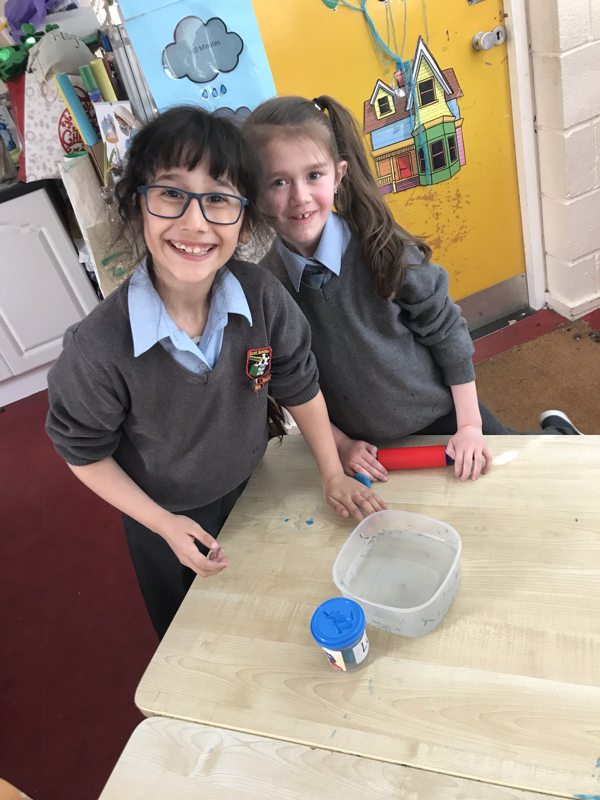
After exploring different ways to shape the playdough we figured out that if we shaped the playdough into a cup shape with smooth walls, the playdough boat would float! ⛵️
This experiment took a lot of practice but we had lots of fun! We even managed to carry some passengers in our boats ⛵️
The boys and girls did an excellent job at explaining their experiment to everyone on science day! 👩🏼🔬👨🏻🔬⛵️
At first, we had a discussion about things that float and things that sink. We guessed that our ball of playdough would sink because it was heavy- we were right! The playdough sunk to the bottom of our basin ⚓️
We then decided to roll the play dough into a sausage shape. This also sunk ⚓️
After exploring different ways to shape the playdough we figured out that if we shaped the playdough into a cup shape with smooth walls, the playdough boat would float! ⛵️
This experiment took a lot of practice but we had lots of fun! We even managed to carry some passengers in our boats ⛵️
The boys and girls did an excellent job at explaining their experiment to everyone on science day! 👩🏼🔬👨🏻🔬⛵️

Senior infants: Clowning around
In Senior Infants we were exploring balance! We were learning about how weight has to evenly distributed to find the balance. We were making balancing clowns. First we coloured them, then we cut them and then we tried to balance the clowns on our finger. It would not work because all of the clown weighed the same. We then stuck two coins to the clowns hands which made the bottom heavier, and as if like magic the clowns balanced on the top of our fingers!
We have also been learning about balance in maths. We have been balancing lots of different objects with cubes.
Have a look at the pictures below to see us balancing our clowns and enjoying science day!
We have also been learning about balance in maths. We have been balancing lots of different objects with cubes.
Have a look at the pictures below to see us balancing our clowns and enjoying science day!
spiral snakes and convection currents in first class!
The children had a great day in school at our science day! Each class was given an experiment to test and ours was the effect of heat and how it creates convention currents. 😊 We made spiral snakes which when placed over a hot heat source, the hot air would rise making the snakes turn which would rotate them. The children tested this on a radiator which didn’t turn the snakes very well, but when we went into the staff room and tested it over the hob it turned very quickly. The senior infants enjoyed explaining this to everyone who came to our science day.
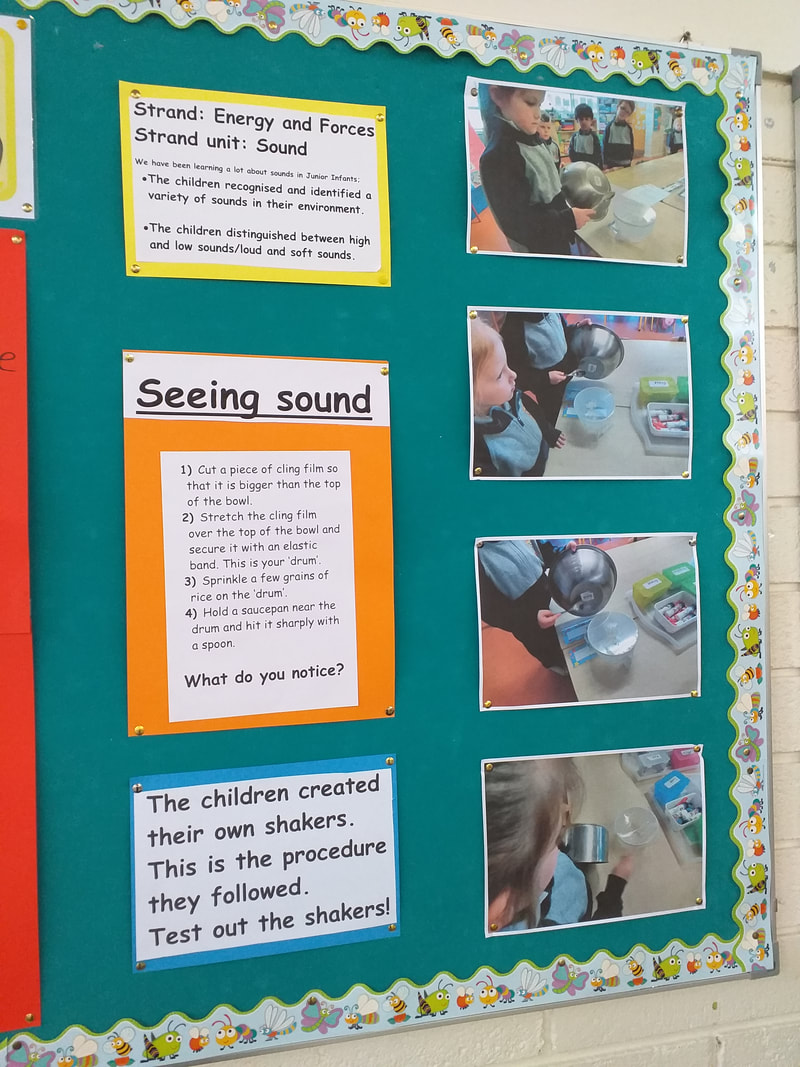
Strange sounds
junior infants
We The children had lots of fun learning about strange sounds during Science Week! They also really enjoyed showcasing all their new learning at our Science Day. The children learned that sound is caused by vibrations which travel through the air. These vibrations can be made by blowing and banging. The children carried out three investigations in order to see and feel sound, as well as making weird sounds.
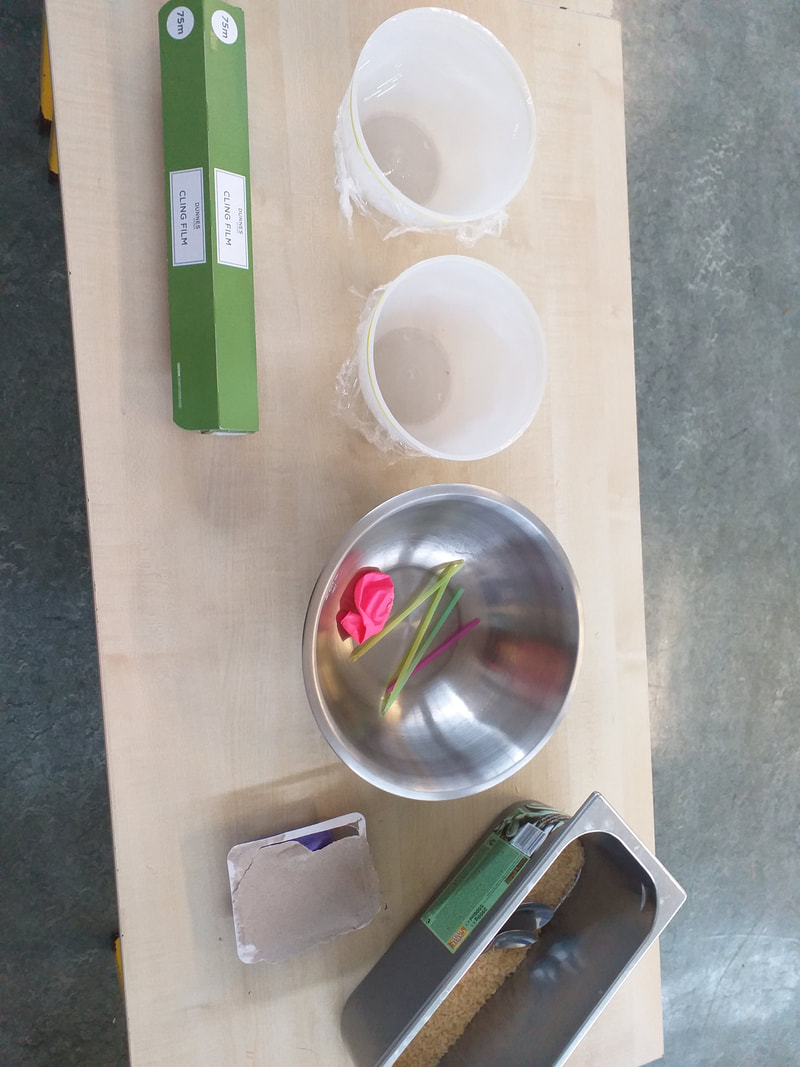
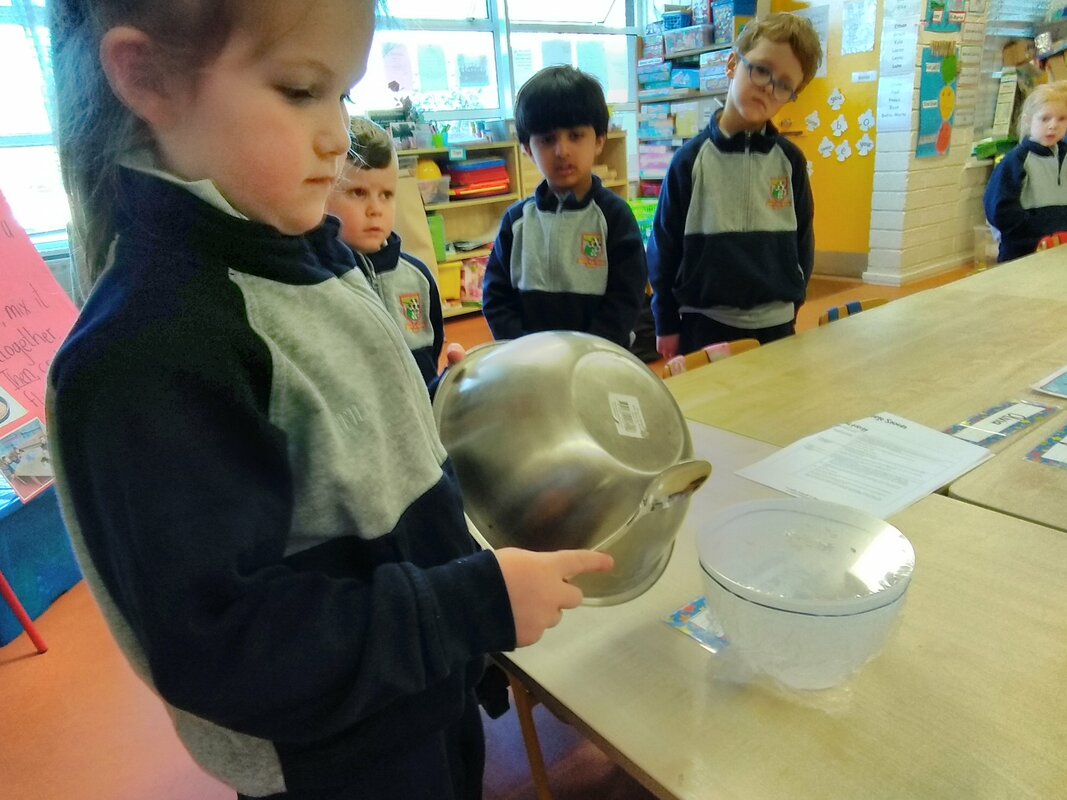
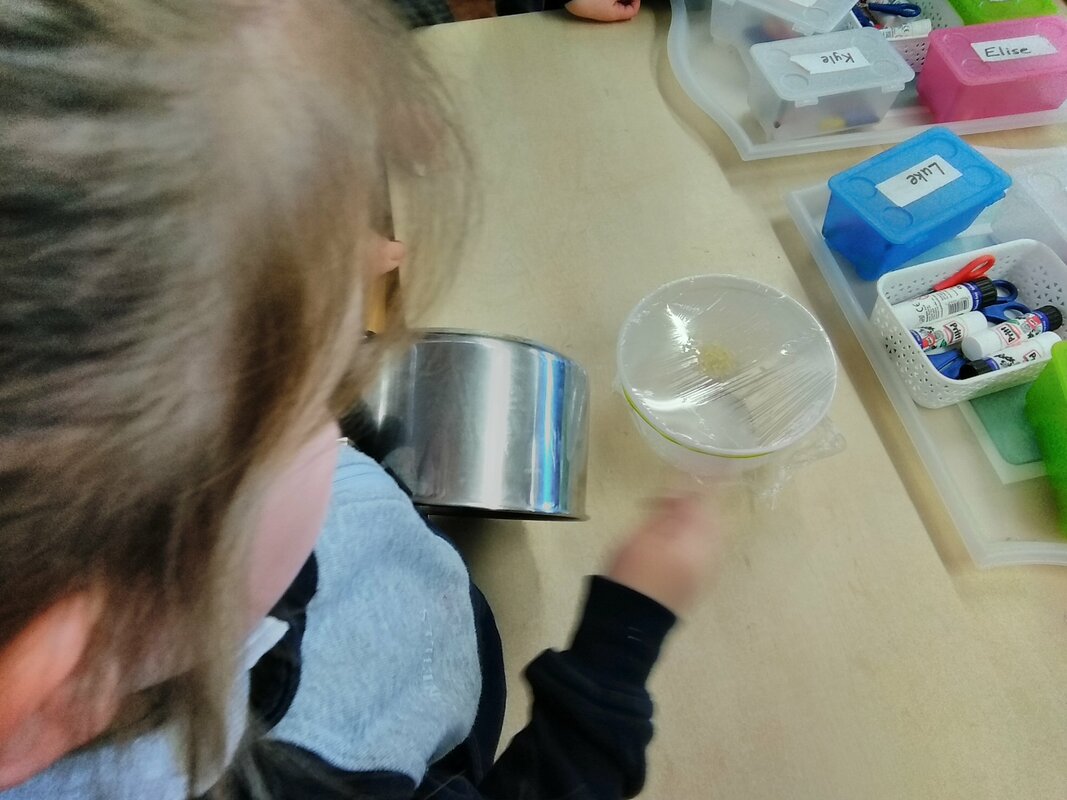
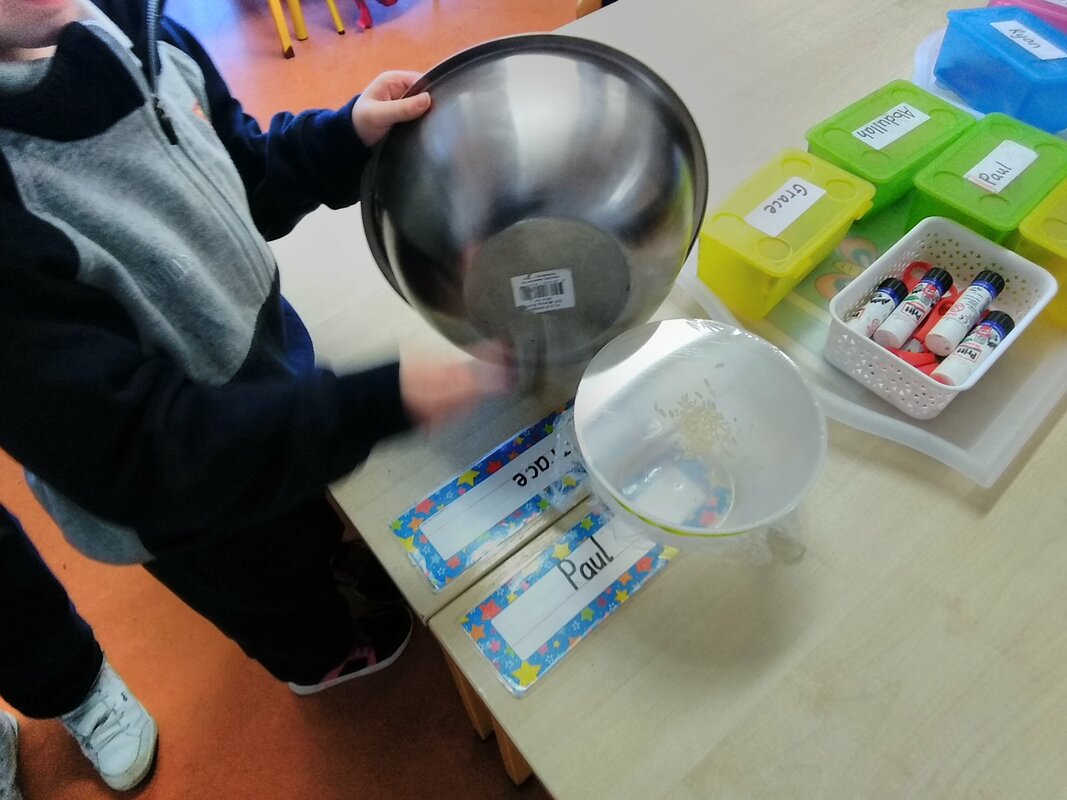
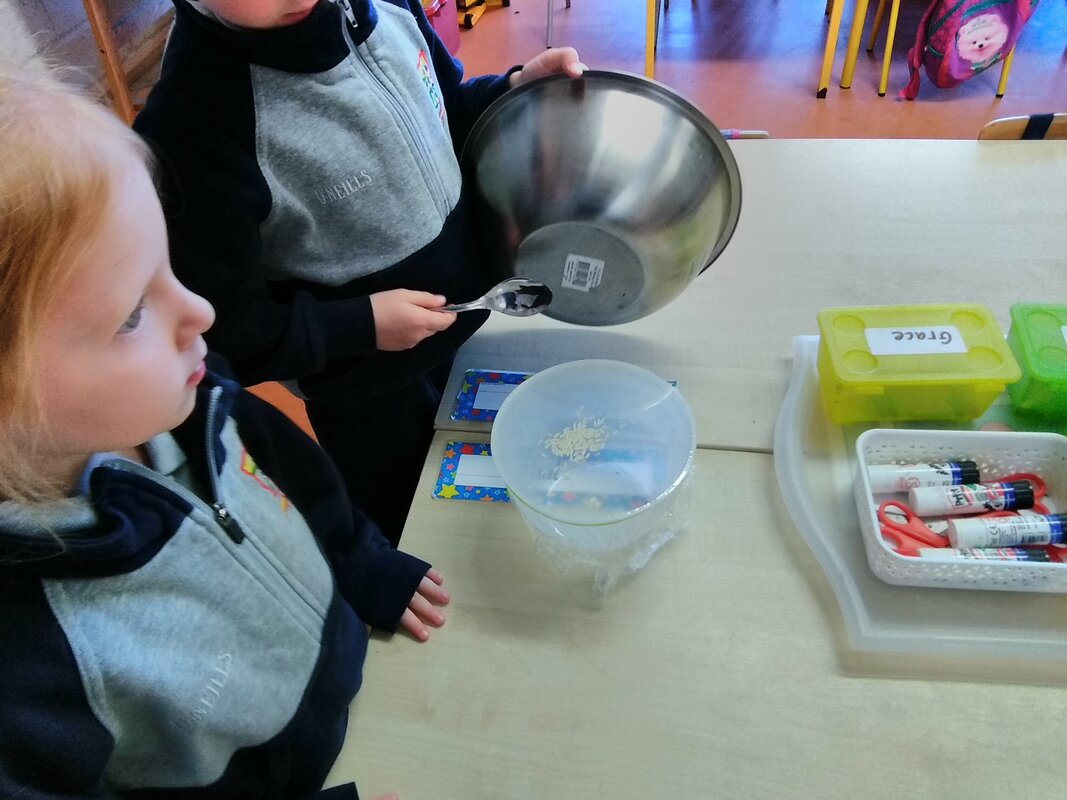
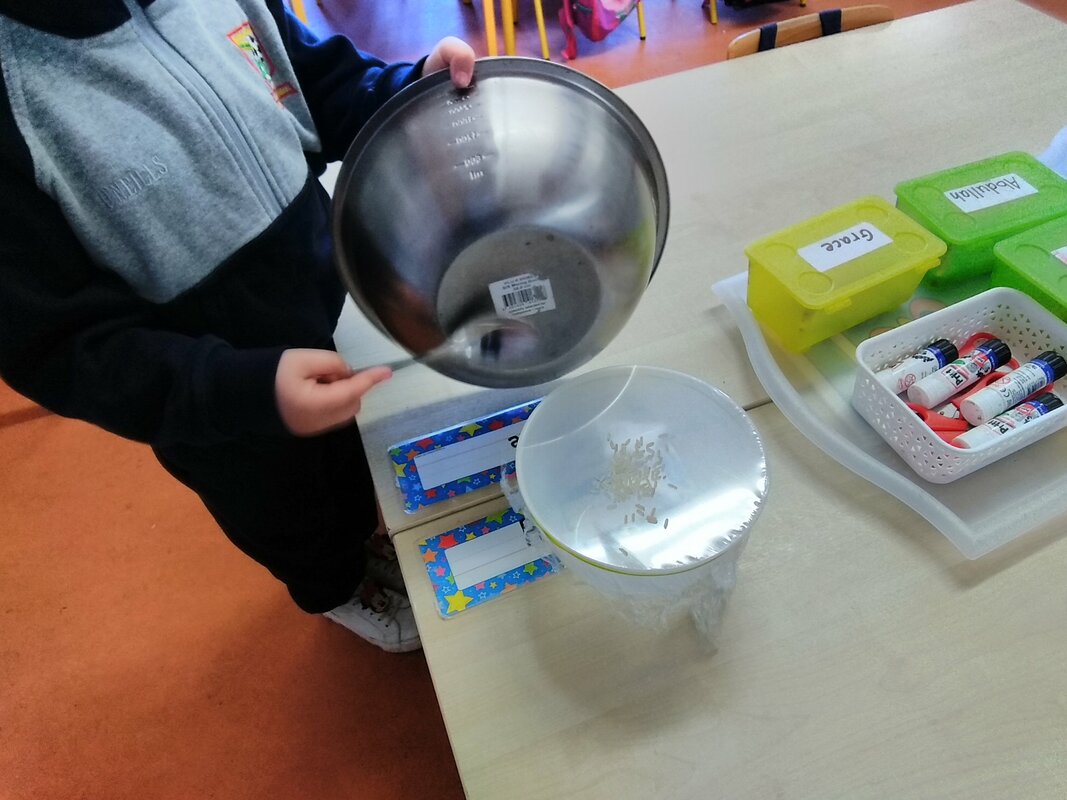
1) Seeing sound
The children secured a piece of cling film over the top of a bowl using an elastic band. They sprinkled rice on top of the cling film and hit a saucepan sharply with a spoon which was close to the bowl, but not touching it. The children observed the grains of rice moving - these movements were caused by vibrations from the banging.
2) Feeling sound
The children held a blown up balloon to their ear. A partner pressed their lips against the balloon and spoke. The children could feel the vibrations through the balloon.
3) Making weird sounds
We found this experiment a bit tricky at the start! The children pressed one side of the straw flat and cut this side of the straw into a point. The children put the pointed end into the side of their mouths and blew really hard. The weird sounds were made by the vibrations from the children's blowing.
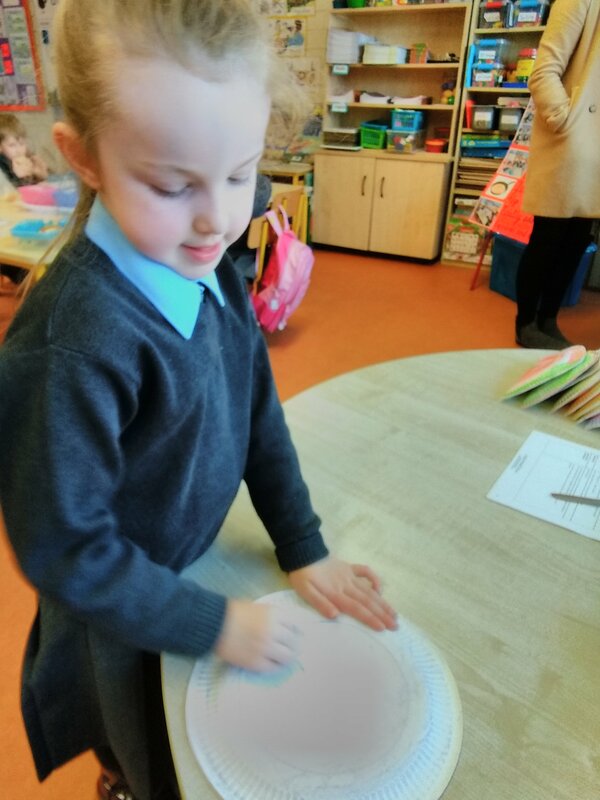
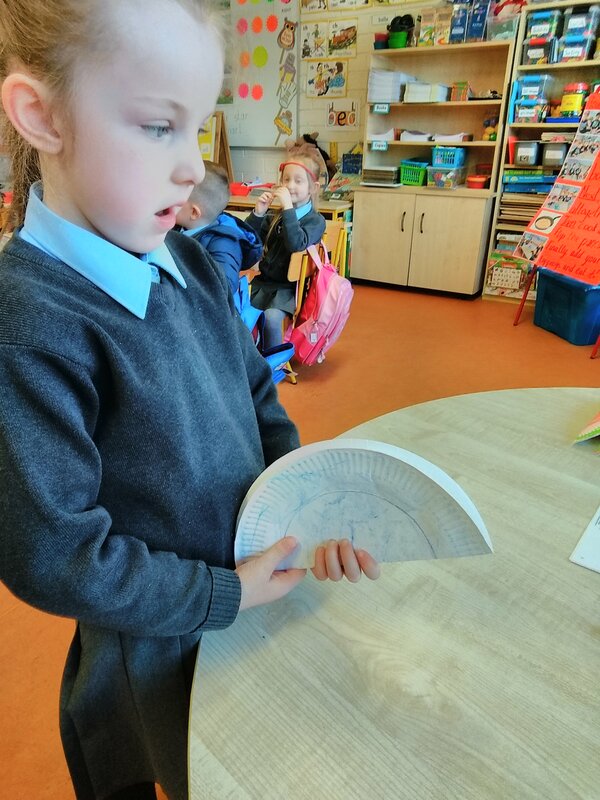
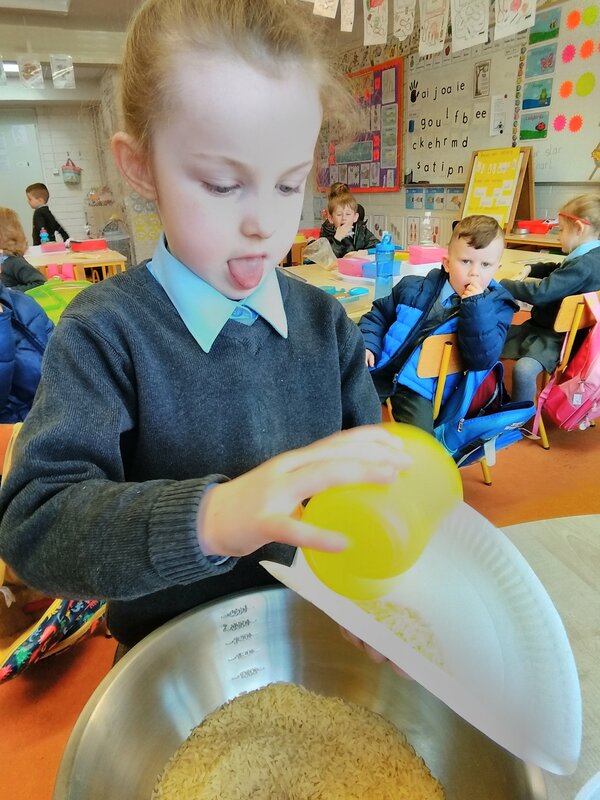
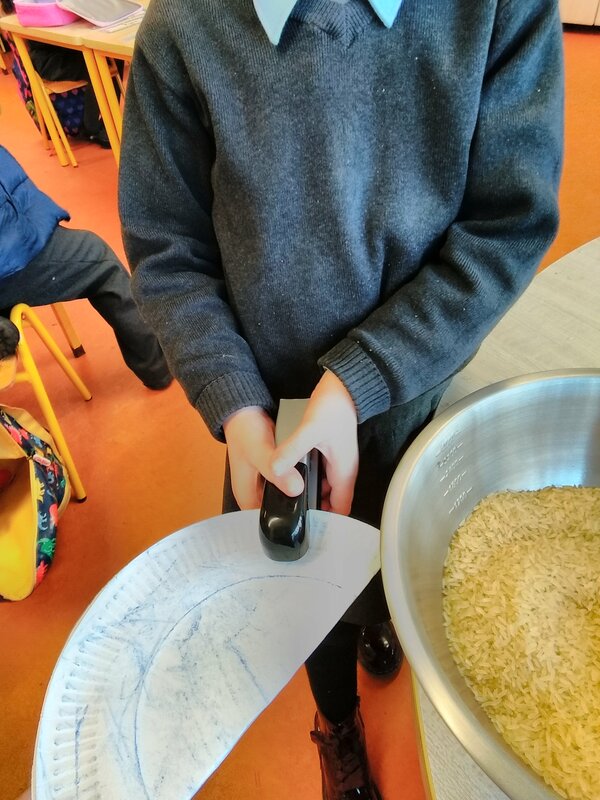
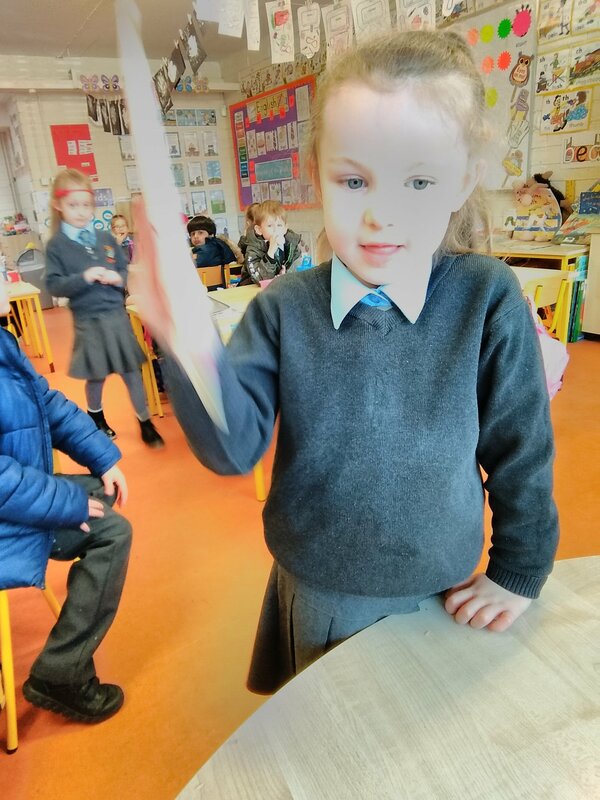
Making shakers
As the children were learning lots about sound during Science Week, we thought it would be lots of fun to make our own shakers to make our own sounds. The children made shakers using paper plates and rice. The children discussed the procedure involved in making a shaker and we made note of this. The children decorated a paper plate and folded it in half. The children poured in some rice and it was stapled closed. The children really enjoyed shaking the shakers, just to make sure they worked afterwards!
1) Seeing sound
The children secured a piece of cling film over the top of a bowl using an elastic band. They sprinkled rice on top of the cling film and hit a saucepan sharply with a spoon which was close to the bowl, but not touching it. The children observed the grains of rice moving - these movements were caused by vibrations from the banging.
2) Feeling sound
The children held a blown up balloon to their ear. A partner pressed their lips against the balloon and spoke. The children could feel the vibrations through the balloon.
3) Making weird sounds
We found this experiment a bit tricky at the start! The children pressed one side of the straw flat and cut this side of the straw into a point. The children put the pointed end into the side of their mouths and blew really hard. The weird sounds were made by the vibrations from the children's blowing.
Making shakers
As the children were learning lots about sound during Science Week, we thought it would be lots of fun to make our own shakers to make our own sounds. The children made shakers using paper plates and rice. The children discussed the procedure involved in making a shaker and we made note of this. The children decorated a paper plate and folded it in half. The children poured in some rice and it was stapled closed. The children really enjoyed shaking the shakers, just to make sure they worked afterwards!